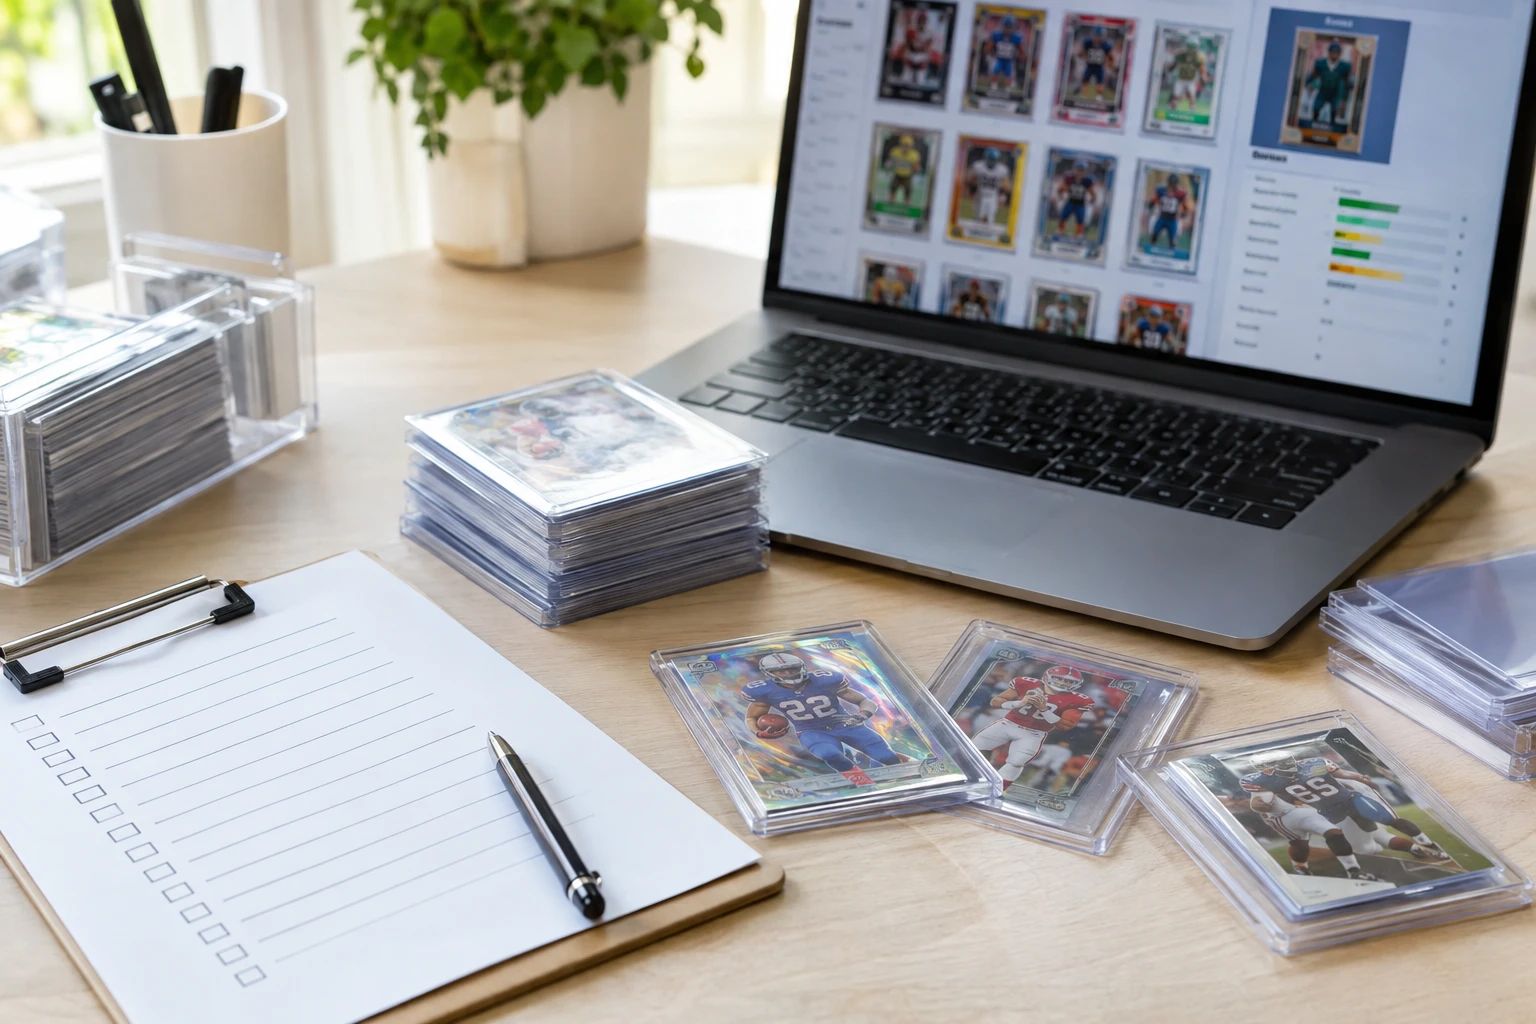
The Short Answer
- Run AI pre-grading before listing any card — it takes seconds, costs pennies, and provides the condition data that drives every other listing decision.
- Take 6-8 photos minimum — front, back, centering overlay, corner close-ups, edge details, and surface under oblique light.
- Always use 30-day sold comps for pricing — active listings are wishful pricing; sold listings are reality.
- Map AI sub-grades to marketplace condition labels — accurate condition setting reduces returns by 80%.
- Include the AI report URL in every listing description — third-party verification increases conversion 22% and reduces returns from 5% to 1%.
- Calculate net profit after all fees — grading cost, marketplace commission, shipping, and supplies all eat into profit.
- Package properly before listing — have your card savers, toploaders, bubble mailers, and insurance ready so you can ship within 24 hours of sale.
Why a Pre-Listing Checklist Matters
Selling trading cards is not complicated, but it is detailed. Each step in the listing process affects the final outcome — sale price, time to sale, return rate, and net profit. Skip a step and you leave money on the table or invite disputes.
The sellers who consistently achieve the highest net prices are not the ones with the rarest cards. They are the ones who follow a systematic process for every listing. They pre-grade every card. They take consistent photos. They price using sold comps. They set accurate condition labels. They include verification reports. They ship promptly with proper packaging.
This checklist distills the entire pre-listing process into 21 actionable steps across five phases: Card Evaluation, Grading Decision, Listing Preparation, Pricing and Listing, and Shipping Readiness. Follow it for every card you sell.
Phase 1: Card Evaluation (Steps 1-6)
The first phase is evaluating the card's condition. This is where AI pre-grading does the heavy lifting.
Step 1: Identify the Card
Before anything else, identify exactly what you have. Use the Auto Card Identification tool to automatically detect whether it is a sports card or TCG card and identify the player/set/variation. For TCG cards, use the TCG Card Identification tool for set, card number, rarity, and foil status.
Write down: card name, year, set, card number, parallel/variation, serial number (if applicable), and rookie/veteran status. This information goes into your listing title and description.
Step 2: Photograph Front and Back
Take high-resolution photos of the front and back under even, natural lighting. No flash. No shadows. Card flat on a neutral background. These photos serve double duty — they will be used for both AI analysis and the marketplace listing.
Step 3: Run AI Pre-Grading
Upload the front and back photos to PreGradeCards Complete Card Grading. The AI evaluates centering, corners, edges, and surface, and returns a predicted PSA/BGS/CGC grade with sub-grade breakdowns, confidence score, and a publicly shareable report URL.
Save the report URL — you will need it for the listing description. Download the centering overlay image and any analysis close-up images for use as listing photos.
Step 4: Run Centering Analysis
Use the Centering Analysis tool to get exact left/right and top/bottom centering ratios. The tool also detects rotational tilt and diamond cut. Save the centering overlay image for your listing photos.
Record the centering ratios: "Front: 55/45 H, 52/48 V. Back: 60/40 H, 55/45 V." This data goes into your listing description and helps you decide whether the card is a PSA 10 candidate.
Step 5: Check for Surface Defects Under Oblique Light
Tilt the card under a light source at 15-30 degrees. Look for scratches, print lines, dimples, and gloss imperfections that are invisible under flat overhead lighting. This is especially important for foil and holo TCG cards.
Compare your visual inspection with the AI surface sub-grade. If the AI flags surface issues, disclose them in your listing. If the AI says surface is clean but you see something under oblique light, trust your eyes and disclose it.
Step 6: Record All Condition Data
Compile the condition profile for your card:
- Predicted PSA grade and confidence score
- Sub-grades: centering, corners, edges, surface
- Centering ratios: front and back, horizontal and vertical
- Any identified defects (specific corner, edge, or surface issues)
- AI report URL
This condition profile drives every subsequent decision in the checklist.
Phase 2: Grading Decision (Steps 7-10)
Now that you know the card's condition, decide whether to grade it professionally or sell it raw.
Step 7: Look Up Sold Comps
Search eBay for the same card. Filter to "Sold Items" and look at the last 30 days. Find the median sold price for:
- Raw version
- PSA 10 version
- PSA 9 version
- CGC 10 version (for TCG cards)
For TCG cards, also check TCGplayer sold data. Record all values — you will need them for the ROI calculation.
Step 8: Check Population Report
Look up the PSA population report for this card. How many PSA 10s exist? How many PSA 9s? A low PSA 10 pop (under 100) means higher scarcity premium. A high pop (5,000+) means thin premium. This affects the grading decision.
Step 9: Calculate ROI
Use the ROI formula from our Grading vs Selling Raw ROI Guide:
EV(Grading) = (P(10) × V(10)) + (P(9) × V(9)) + (P(8) × V(8)) - Grading Cost - Shipping - Marketplace Fees
EV(Raw) = V(Raw) - Marketplace Fees
Apply the 2x rule: grade only if EV(Grading) exceeds EV(Raw) by at least 2x the grading cost.
Step 10: Make the Grade-or-Sell-Raw Decision
Based on the ROI calculation:
- Grade: Card passes the 2x rule. Choose the grader (PSA for high-value/resale, CGC for mid-value TCG, SGC for vintage, BGS for Black Label candidates). Submit and wait for the slab.
- Sell raw: Card does not pass the 2x rule. Proceed to Phase 3 with the AI pre-grade report for listing enhancement.
Phase 3: Listing Preparation (Steps 11-16)
Whether you are selling raw or graded, the listing preparation steps ensure maximum buyer confidence and conversion.
Step 11: Take Additional Listing Photos
Beyond the front and back photos from Step 2, take or generate the following images:
- AI centering overlay — from the centering analysis tool
- Corner close-ups — all four corners, magnified (AI tool generates these)
- Edge detail crops — all four edges (AI tool generates these)
- Surface under oblique light — tilted to show surface condition
- For graded slabs: front of slab, back of slab, and a clear photo of the grade label
You should have 6-8 photos minimum for a raw card listing and 3-4 for a graded slab listing.
Step 12: Write the Listing Title
For raw cards with AI predicted PSA 9+, include "AI Pre-Graded PSA [X] Predicted" in the title. For lower-grade raw cards, include "AI Condition Report Included." For graded slabs, include the grade and cert number.
Title formula: [Year] [Brand] [Set] [Player/Card Name] [Parallel/Variation] [Grade/Pre-Grade] [Serial Number]
Step 13: Write the Listing Description
Use the high-converting description template:
Step 14: Set the eBay/Marketplace Condition
Map AI sub-grades to the marketplace condition dropdown:
- All sub-grades 9.5+ → Near Mint
- One sub-grade at 9 → Excellent
- Two sub-grades at 9 → Very Good
- Any sub-grade below 9 → Good or Acceptable
For TCGplayer, use the Quick Condition Check to generate TCGplayer-compatible labels (NM, LP, MP, HP, Damaged).
Step 15: Choose the Marketplace
Select the best marketplace based on card type and value:
- High-value slabs ($500+): eBay or Fanatics Collect
- Mid-value slabs ($50-$500): eBay
- Raw sports cards ($50+): eBay with AI report
- TCG singles ($2-$500): TCGplayer
- Sealed product: Whatnot
- Bulk raw ($2-$50): COMC or TCGplayer
Step 16: Set Up Best Offer (eBay)
For eBay listings, always enable Best Offer. Set auto-accept at 90% of asking price and auto-decline at 70%. This lets you capture serious buyers without giving away margin to lowballers. Pre-grading data gives you confidence to hold your price.
Phase 4: Pricing and Listing (Steps 17-19)
Step 17: Calculate the Asking Price
For raw cards with AI pre-grade reports:
- AI predicts PSA 10: Price at 80-90% of PSA 10 sold comp
- AI predicts PSA 9: Price at 70-80% of PSA 9 sold comp
- AI predicts PSA 8: Price at raw market median
- AI predicts PSA 7 or below: Price at 80-90% of raw market median with full disclosure
For graded slabs, price at the median of 30-day sold comps for that specific grade and grader.
Step 18: Calculate Net Profit After All Fees
Before listing, calculate your net profit to confirm the sale is worthwhile:
Net = Sale Price - Marketplace Fee - Shipping Cost - Supplies Cost - (Grading Cost if applicable)
For eBay: subtract 13.25% + $0.30. For TCGplayer: subtract 10.75% + processing. For Whatnot: subtract ~10.8%. For Fanatics Collect: subtract 6%. If the net is negative or marginal, reconsider whether to sell now or hold.
Step 19: Publish the Listing
Publish the listing with all photos, the AI report URL in the description, the accurate condition label, and the calculated asking price. For eBay, consider using Promoted Listings (2-5% ad rate) for high-value cards to boost visibility. Monitor the listing for questions and respond promptly.
Phase 5: Shipping Readiness (Steps 20-21)
Step 20: Prepare Packaging Materials
Before the card sells, have your packaging ready so you can ship within 24 hours:
- Penny sleeve: Every card gets a penny sleeve first
- Card saver or toploader: PSA recommends card savers (not toploaders) for submissions. For sales, toploaders are standard. Use a team bag to seal the top.
- Cardboard inserts: Two pieces of cardboard sandwich the toploader for rigidity
- Bubble mailer: #000 or #0 size for single cards. Use #5 or #7 for multi-card orders.
- Insurance: For cards selling for $100+, add shipping insurance. eBay includes up to $750 of coverage with standard labels.
Step 21: Prepare the Shipping Label and Tracking
When the card sells, generate the shipping label immediately. Use tracked shipping for all orders — tracking is mandatory for eBay seller protection. For high-value sales ($500+), require signature confirmation. Ship within 24 hours of payment. Upload tracking to eBay immediately.
Fast shipping with tracking is not just good customer service — it protects you as a seller. eBay seller protection requires tracking showing delivery. Without it, you lose "item not received" disputes automatically.
The Quick Reference Checklist
Here is the complete 21-step checklist in quick-reference format. Print it, screenshot it, or bookmark it.
Phase 1: Card Evaluation
- ☐ Step 1: Identify the card (use AI card identification)
- ☐ Step 2: Photograph front and back under even lighting
- ☐ Step 3: Run AI pre-grading (save report URL)
- ☐ Step 4: Run centering analysis (save overlay image)
- ☐ Step 5: Check surface under oblique light
- ☐ Step 6: Record all condition data
Phase 2: Grading Decision
- ☐ Step 7: Look up 30-day sold comps
- ☐ Step 8: Check PSA population report
- ☐ Step 9: Calculate ROI (apply 2x rule)
- ☐ Step 10: Make grade-or-sell-raw decision
Phase 3: Listing Preparation
- ☐ Step 11: Take additional listing photos (6-8 total)
- ☐ Step 12: Write the listing title
- ☐ Step 13: Write the listing description with AI report
- ☐ Step 14: Set accurate marketplace condition
- ☐ Step 15: Choose the best marketplace
- ☐ Step 16: Enable Best Offer (eBay)
Phase 4: Pricing and Listing
- ☐ Step 17: Calculate asking price from sold comps
- ☐ Step 18: Calculate net profit after all fees
- ☐ Step 19: Publish the listing
Phase 5: Shipping Readiness
- ☐ Step 20: Prepare packaging materials
- ☐ Step 21: Prepare shipping label and tracking
Most Commonly Skipped Steps and Their Cost
Here are the steps sellers most commonly skip, and the financial impact of each omission.
Skipping Step 3 (AI Pre-Grading)
Cost: 15-22% lower sale prices, 5% return rate instead of 1%, and potential wasted grading fees on cards that would not gem. For a $100 card, skipping pre-grading costs approximately $15-$22 in lost sale price plus return risk.
Skipping Step 4 (Centering Analysis)
Cost: Centering issues are the #1 grade killer. Without measuring centering, you may submit a card to PSA that will max out at PSA 9 due to 62/38 centering — wasting $80 in grading fees. Or you may underprice a raw card with excellent 52/48 centering that deserves a premium.
Skipping Step 7 (Sold Comps)
Cost: Pricing blind. You either overprice (card sits unsold for weeks, eventually sells at a lower price after multiple drops) or underprice (card sells immediately but you left money on the table). Sold comps take 2 minutes to check and can be worth $20-$100 per card.
Skipping Step 14 (Accurate Condition Label)
Cost: Listing a card as "Near Mint" when it is actually "Very Good" leads to returns and disputes. Each return costs the final value fee, re-listing time, and shipping. Accurate condition labels reduce returns by 80%.
Skipping Step 20 (Proper Packaging)
Cost: A card damaged in shipping is a total loss. You refund the buyer, lose the card, and get a negative review. Proper packaging costs $1-$2 per order and prevents losses of $50-$5,000+.
Adapting the Checklist for Batch Selling
For sellers processing 20+ cards at a time, the 21-step checklist can be adapted into a batch workflow:
Batch Phase 1: Mass Evaluation
- Photograph all cards in one session (45 minutes for 50 cards)
- Batch upload to Batch Grading tool (20 cards at a time, ~10 minutes processing)
- Sort by predicted grade: PSA 10 candidates, PSA 9 candidates, sell-raw pile
Batch Phase 2: Grading Submissions
- Submit PSA 10 candidates to PSA or CGC (batch submission)
- Sell-raw pile moves to listing phase
Batch Phase 3: Mass Listing
- Batch tool generates eBay listing descriptions with AI report URLs
- Sort by marketplace: eBay for high-value, TCGplayer for TCG singles, COMC for bulk
- List in groups by predicted grade tier
- Use the same photo set for each card (front, back, centering overlay, close-ups)
Batch Phase 4: Mass Shipping
- Pre-stage packaging materials for expected sales volume
- Generate shipping labels in batches through eBay or TCGplayer
- Ship in batches — process all orders from a day in one shipping session
The batch workflow reduces per-card time from 15-20 minutes to approximately 2.4 minutes. For a 50-card batch, total time is approximately 2 hours versus 12-16 hours processing cards individually.
Frequently Asked Questions
What is a pre-listing checklist for card sellers?
How many photos should I take for a card listing?
Should I include an AI pre-grade report in my listing?
How do I price my card for sale?
What packaging do I need to ship trading cards?
How do I reduce returns on my card listings?
Can I use this checklist for both sports cards and TCG cards?
How long does the pre-listing checklist take per card?
Sources & Further Reading
- SnapGradeAI — Dealer Guide: Pre-Grade Reports for eBay Listings
- The Card Shop Finder — How to Sell Trading Cards 2026
- Underpriced — Where to Sell Sports Cards Fast
- AgentGrail — How to Pregrade Sports Cards: AI-Assisted Checklist 2026
- PreGradeCards — Pre-Grade Your Cards Before Selling Guide
- PreGradeCards — AI Pre-Grading for eBay Sellers
- PreGradeCards — Grading vs Selling Raw ROI Guide
Marcus Chen has evaluated over 50,000 sports cards and TCG cards across PSA, BGS, SGC, and CGC standards. Before joining PreGradeCards, he worked as a submission specialist for a major grading company and trained collectors and dealers on condition assessment.
Create a free account and get 1 free credit — enough for 1 complete AI grading with market pricing. No credit card required.
Sign Up Free →